baby proofed parents

where sane meets baby brain

Subscribe To The BPP Postcard

  • Home
  • About
    • ABOUT KIRSTEN
    • WRITING & MEDIA
    • WORKSHOPS
    • PROFESSIONAL COUNSELING SERVICES
  • PREGNANCY
  • Parenting
  • RELATIONSHIPS
  • WELLNESS
    • ANXIETY
    • DEPRESSION
    • SELF CARE
  • CONTACT
    • WORKSHOPS
    • PROFESSIONAL COUNSELING SERVICES

Gluten-Free Mexican Chocolate Cupcakes :: Friday Foodie

January 30, 2015 By: babyproofedparentscomment

cupcake_chocolate

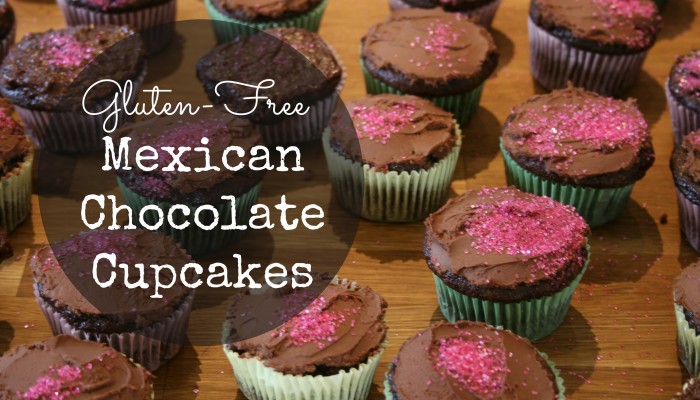
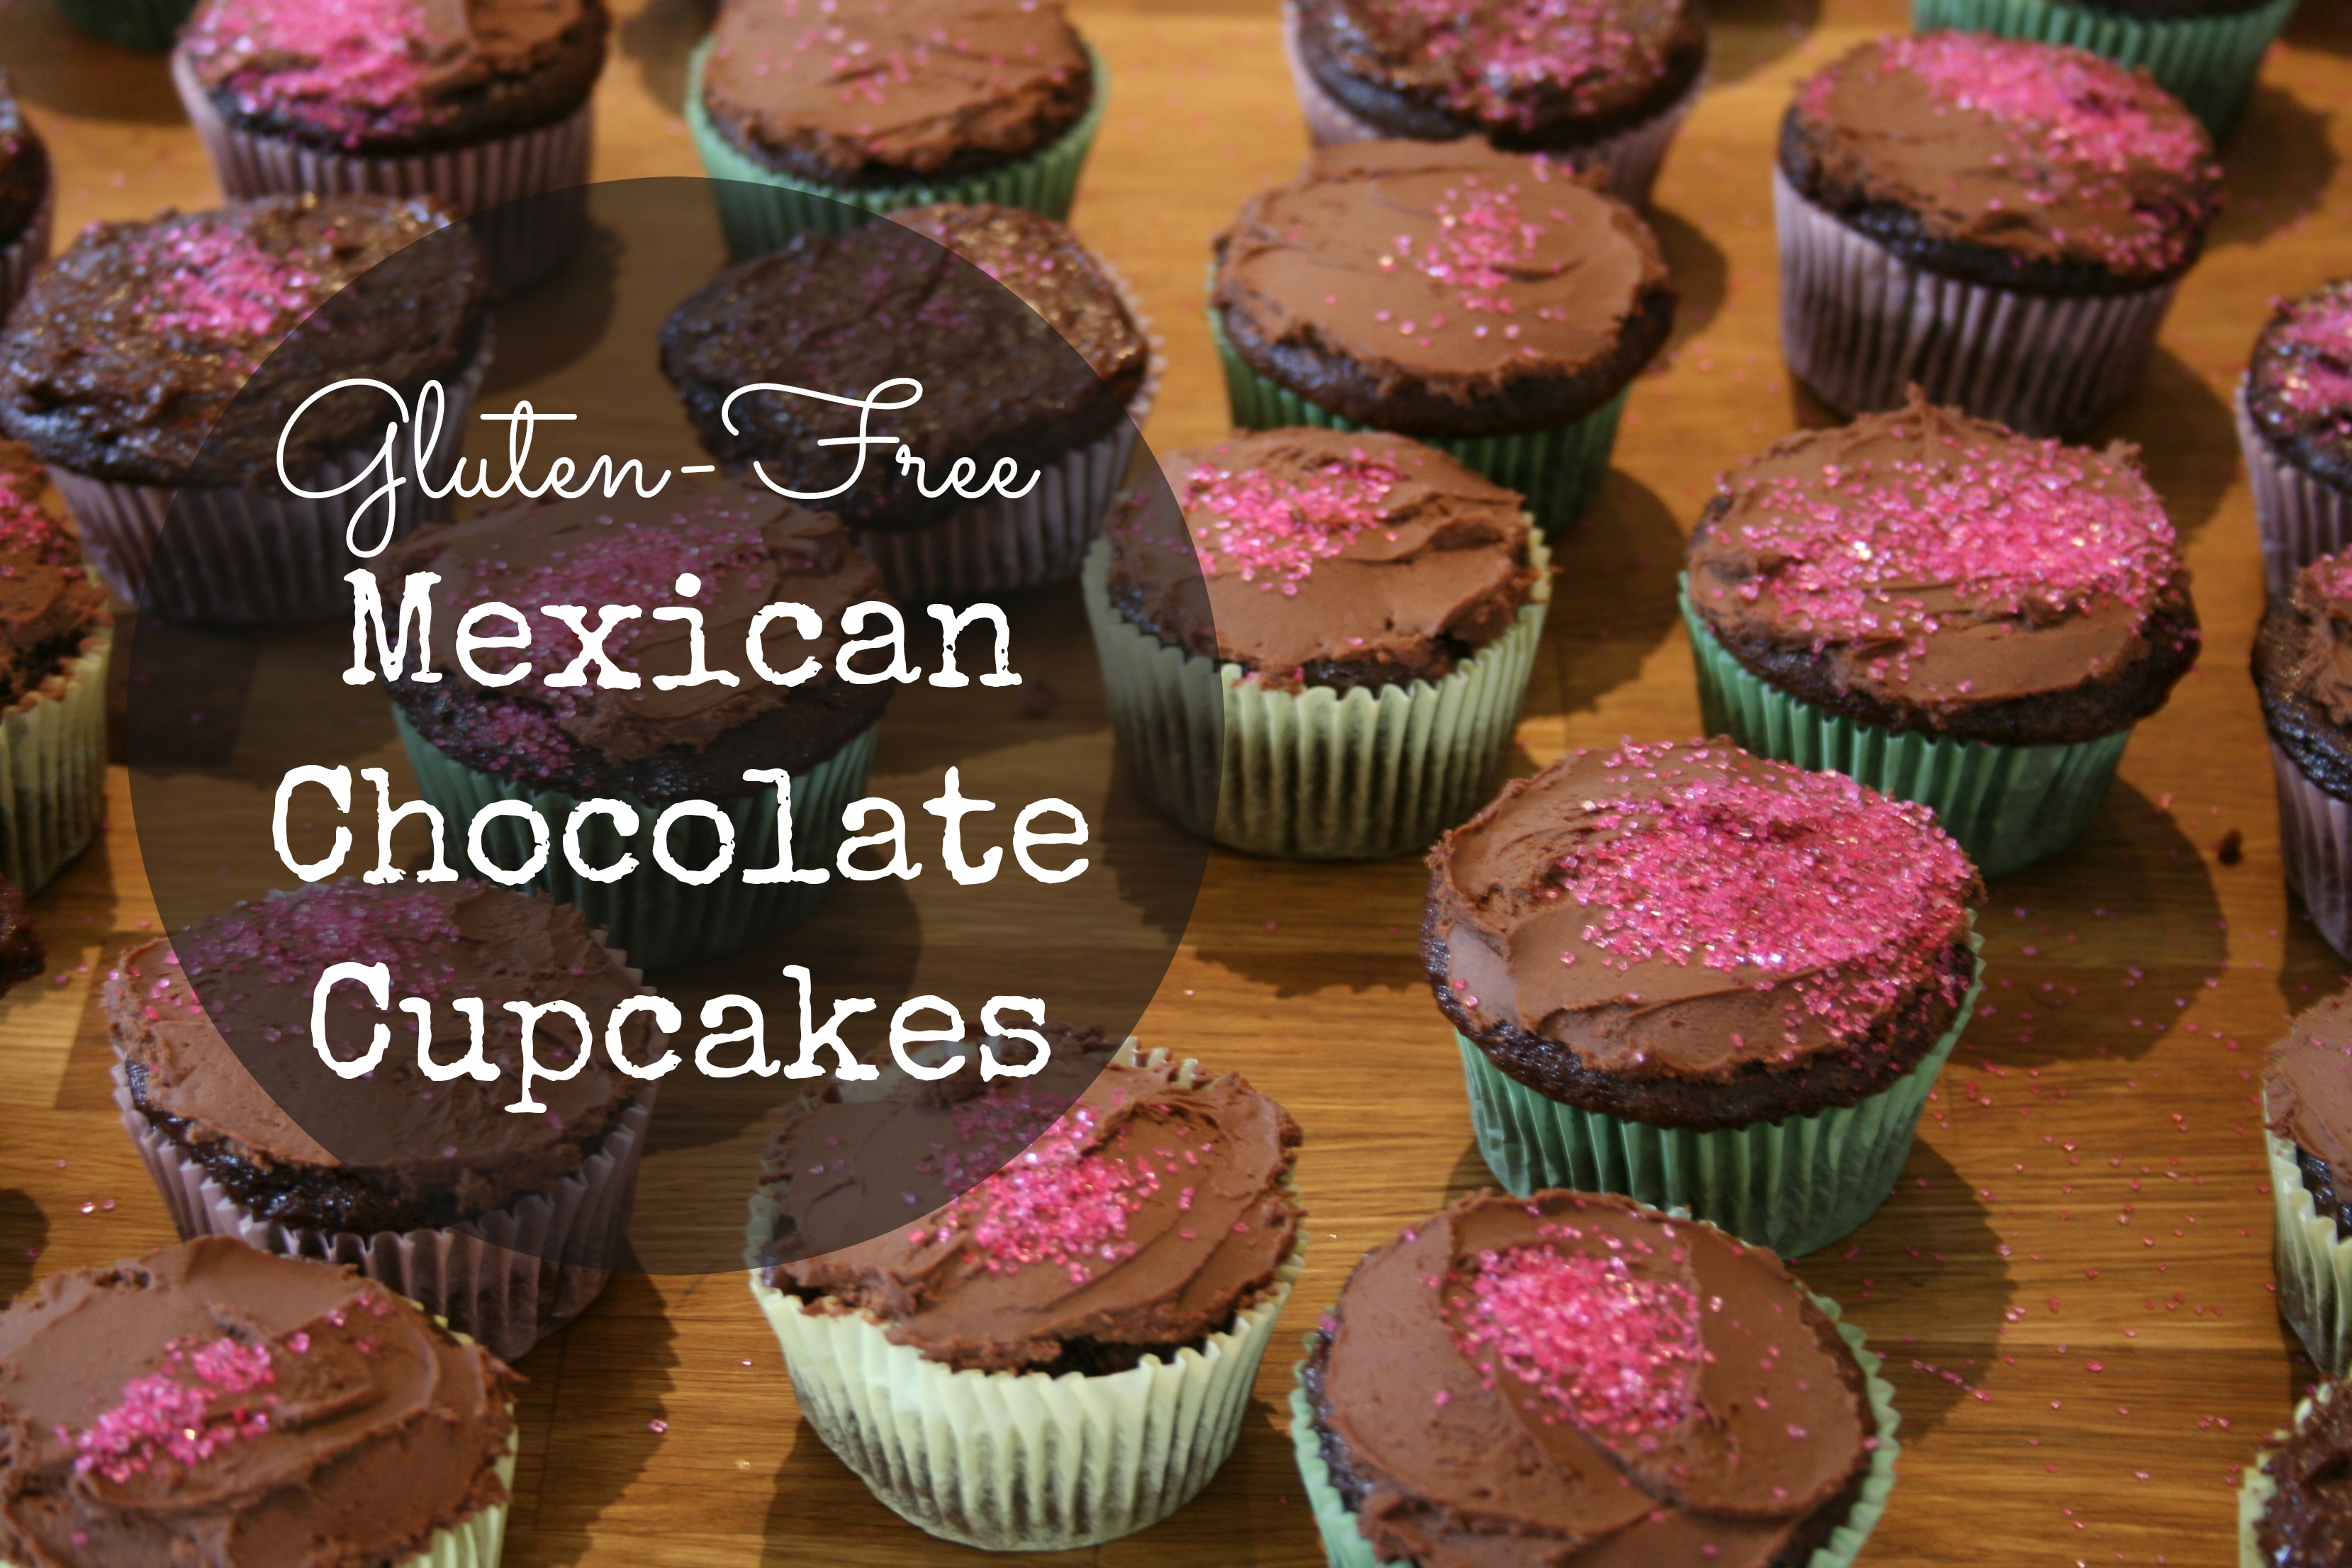
I have frosting issues. It’s always either too thin or too thick. I also enjoy waiting until a few minutes before party go time to start the actual frosting, which usually creates a crisis. In this case, it was too thick to spread, so I heated it, which made it a different color from the ones I had already done. My solution was allowing my little birthday girl to cover them with pink sprinkles. Pretty! Plus, it’s a cupcake! I appreciate the power cupcakes that look like famous people, but find that simple is often more tasty. This recipe is a variation of one I found on a great website: The Gluten Free Spouse, which is loaded with delicious ideas and great step by step photos. The consistency I get is a cross between a cupcake and fudge. I think that’s a lovely combination. I’ve cut back on the sugar and added some extra spice to give your mouth something new to contemplate, but omit the cinnamon and cayenne to get a basic, yummy treat.

Ingredients:

For the Cupcakes:

  • 1/2 cup gluten-free oat flour
  • 1/2 cup brown rice flour
  • 1/3 cup arrowroot flour (or cornstarch)
  • 1 teaspoon xanthan gum
  • 2 teaspoons baking powder
  • 1/4 teaspoon baking soda
  • 1/8 teaspoon salt
  • 1/2 teaspoon cinnamon
  • 1/4 teaspoon cayenne pepper
  • 3/4 cup cocoa
  • 1 & 1/4 cups sugar
  • 2 eggs
  • 3 tablespoons unsalted sweet cream butter (at room temperature)
  • 1 teaspoon pure vanilla extract
  • 1 cup buttermilk

For the Frosting:

  • 4 ounces cream cheese
  • 1 tablespoon butter (at room temperature)
  • 2 ounces unsweetened chocolate
  • 1 cup sifted powdered sugar

Technique:
Preheat your oven to 350 degrees. Line muffin tins with paper cupcake liners (you’ll need about 20, but don’t stress if your batter makes more or fewer). With an electric mixer, beat the butter and sugar on medium-medium high speed until well blended. Add the eggs and vanilla, and beat on medium until well blended. In a medium sized mixing bowl, use a whisk to combine all the remaining dry ingredients. 1. Add 1/3 of the buttermilk to the mixer, and beat until it’s incorporated and smooth, then add 1/3 of the dry ingredients, beat until incorporated and smooth. 2. Use a rubber spatula to scrape down the sides of your mixer bowl. Repeat steps 1 & 2 twice more, ending on the last of the dry ingredients.

When it’s all mixed up and looks smooth and delicious, scoop batter into the cupcake liners, filling them 2/3rds full. Bake them until a toothpick inserted into the middle of a cupcake comes out mostly clean (a few crumbs will stick, and it’s okay if they’re slightly undercooked – they’ll be like gooey brownies), about 20 minutes. Allow the cupcakes to cool on wire racks until they’re room temperature.

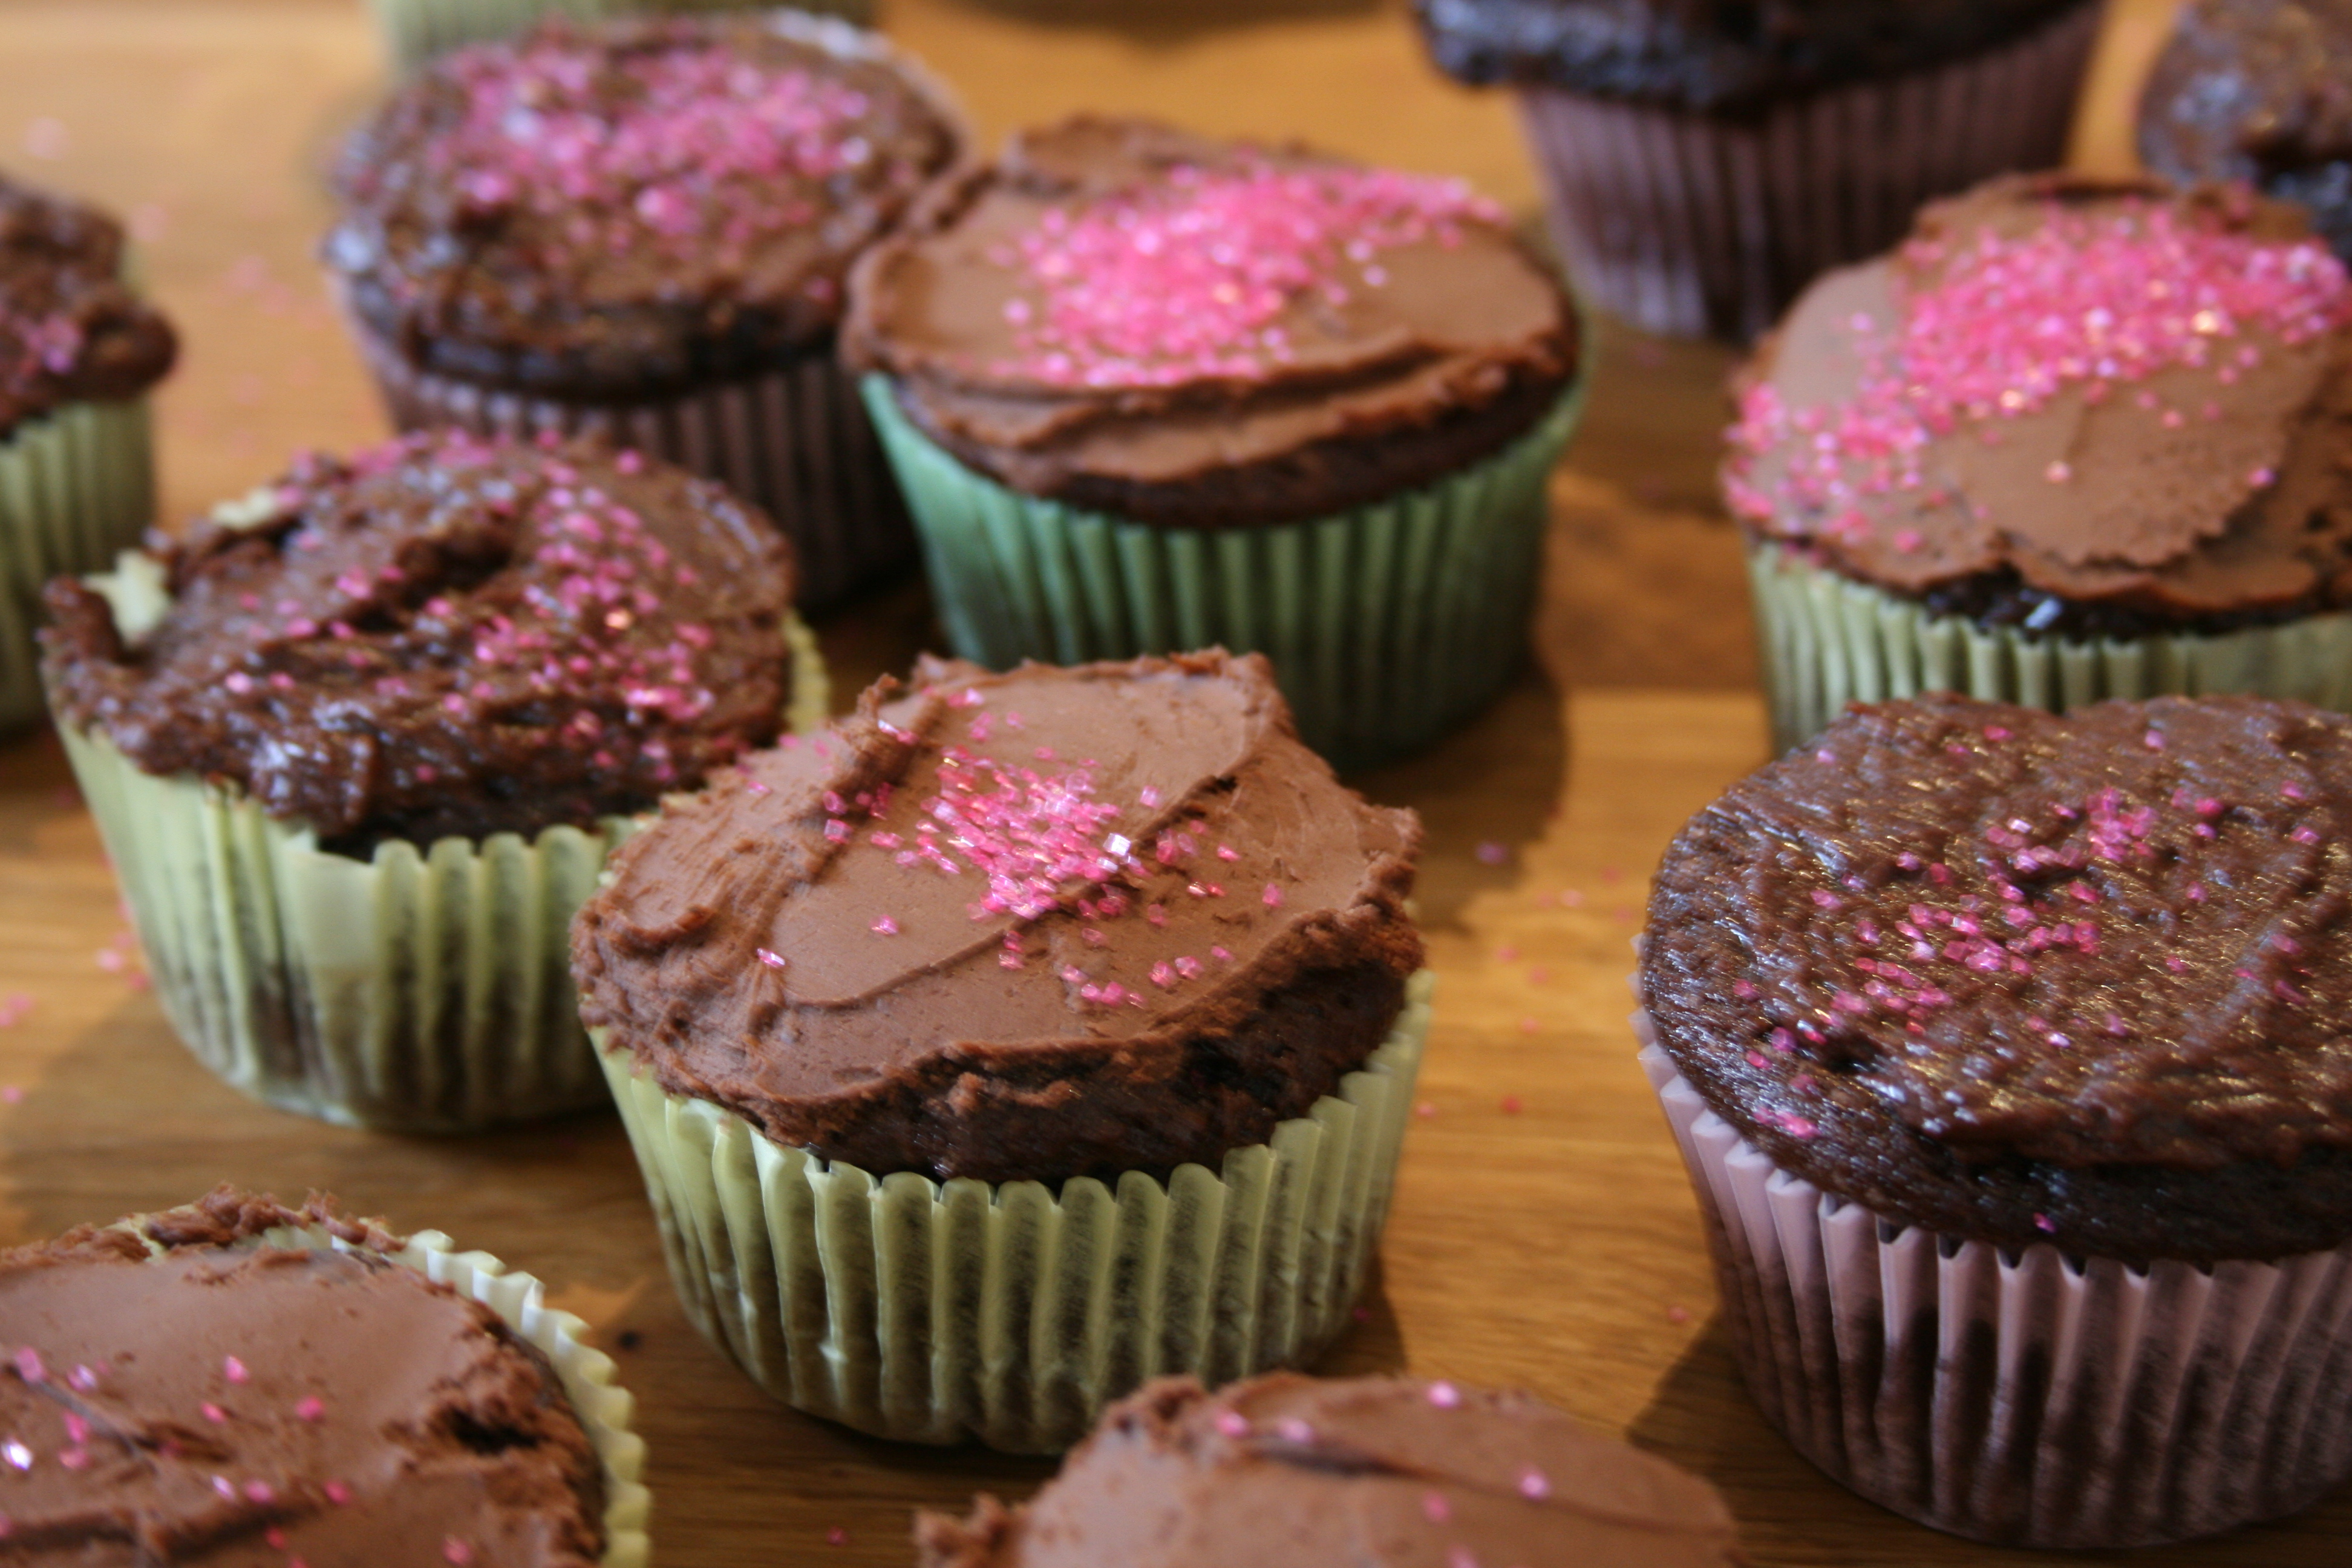
Meanwhile, make the frosting! Melt the chocolate over low heat in a small saucepan and allow it to cool. Combine the cream cheese and butter, beating them with your mixer until they’re smoothly blended. Add the chocolate, and beat until it’s incorporated and smooth. Gradually add the powdered sugar, about 1/4th cup at a time until it’s incorporated and smooth. Spread the frosting on your cupcake and then attack with pink sprinkles. Yum!

cupcake2

Cheryl’s Tips:
Mistakes are f’ing beautiful, and in many cases, delicious. If you botch a recipe, it means you put your own spin on the directions and got a different outcome. Which means you can’t be tamed. Which means you’re so pretty.

Here’s To Sanity and Cayenne Pepper,

Cheryl

5_MG_0872

Roasted Cauliflower :: Friday Foodie

November 7, 2014 By: babyproofedparentscomment

roasted_cauliflower-600x300

My early relationship with cauliflower was bleh.  I’d only eaten it raw, on a veggie tray with a big bowl of ranch dip.  The last lonely choice, after the carrots and celery were long gone, texture grainy, flavor odd.  The awkward, pale white girl alone in the corner of the dance hall.  Oops, we’re talking food, not my prom.  Fast forward years later to a night at my favorite Austin sushi joint, Uchi.  The wait is often insane, and always very well worth every second.  To appease hungry guests, Uchi serves little tastes from the kitchen.  A tray of simple golden-roasted, salty, olive-oily cauliflower came by, and I reluctantly popped a piece into my mouth.  Oh, wow.  Cauliflower?!  Sexy!  Who knew?  When roasted, the texture is silky, the flavor buttery and nutty.  I immediately worked to replicate the dish in my own kitchen, and think you’ll like the results.  I’ve served it to my kids, had them close their eyes and imagine popcorn, and they both ate one bite without gagging or spitting it out.  Victory!

Ingredients:

  • 1 bunch cauliflower
  • 2 tablespoons olive oil
  • 1 teaspoon kosher salt

Technique:

Preheat your oven to 450 degrees.  Using a small knife, remove the outer green leaves of the cauliflower bunch, and cut the white florets off of the stem.  Wash the florets, and drain/pat them dry with a clean dish towel.  Line a large rimmed baking sheet with aluminum foil, and spread the florets in a single layer over it.  Drizzle the florets with the olive oil, and roast them in the oven for 25 minutes.  The cauliflower will be covered with golden brown spots when it’s perfect.  Remove from the oven, and sprinkle the salt over the florets, scooping them around on the pan with a spatula to evenly coat them with the salt and olive oil.  Dig in!

Cheryl’s Tips:

I recommend doubling this recipe.  The leftovers reheat beautifully, and can be used again in a delightful pasta recipe.  Yeah.  That’s a teaser.  The delightful pasta recipe will be coming to you soon, on this very blog.  You just take a nice, deep breath… and wait for it.

Here’s to Sanity and Sushi,

Cheryl

5_MG_0872

Cinnamon Apples :: Friday Foodie

October 24, 2014 By: babyproofedparentscomment

Cinnamon Apples Plain

Although I took it for granted at the time, I was very lucky to have a mom who cooked most of our meals from scratch, with veggies from our backyard garden. The one downside:  since we very rarely ate them, things like fast food, frozen pizza and TV dinners became a delicacy for me.  To this day, you could give me the choice between boeuf bourguignon and a Totino’s Zesty Italiano Pizza, and I’d have to take a pause.  A long pause.  Another favorite was “Hungry Man” frozen dinners, with multiple foil course-compartments, each containing the perfect nutritional balance of processed materials, preservatives and glue.  Mmmm. One of those compartments was often filled by the yummiest, softest, cinnamon apples.  Here’s the super easy how-to for an infinitely healthier and delicious version, just in time for the fall arrival of Honey Crisp apples.  Double mmmm.  I am strangely hungry for Salisbury Steak n’ Peas.

Ingredients:

  • 4 Honey Crisp apples, cored, peeled and sliced (Granny Smith, Pink Lady and Fuji are also yummy)
  • 2 tablespoons butter
  • 1/2 teaspoon ground cinnamon
  • 1 tablespoon maple syrup

Technique:
Heat a large skillet over medium high.  Melt the butter in the skillet, and when it’s bubbly add the apple slices and cinnamon.  Sauté the apples until they begin to brown and soften, about 8-10 minutes.  Add the syrup and sauté 2-3 minutes longer and remove from the heat.  The apples should be tender-crisp, but not mushy at this point.  Allow them to cool for a few minutes and then dig in!

Cheryl’s Tips:
Leftover apples are great cold, topped with a little granola and a drizzle of heavy cream.  Let’s all give fall a big, fat hug.

Here’s To Sanity and Totino’s,

Cheryl

5_MG_0872

Val’s Spicy Turkey Chili :: Friday Foodie

September 12, 2014 By: babyproofedparents2 Comments

spicy turkey chili

I know it’s still sooo hot in Austin, but September means that fall, my favorite season for cooking and clothes, is around the corner.  Central Market has started stocking pumpkins, which makes me want to skip through the produce section.  So, I’m going to pretend fall is already here and share a nice hot recipe with you.  My friend Val is a great cook, and a badass.  That’s why this chili is so good.  I love how she and her husband James cook together.  They take a recipe, prepare it as written the first time, and after sampling it, they modify, modify, modify until it’s perfect.  And their version of perfection is so right. Enjoy with a cold IPA and pretend it’s not a 100 degree sauna outside.

Ingredients:

  • 1 tablespoon olive oil
  • 1 cup chopped onion
  • 2 cloves garlic, finely chopped (I have old recipes that refer to cloves as “buttons”, which makes me want to knit a vampire-retardant sweater with garlic buttons on it)
  • 1/2 cup chopped red bell pepper
  • 1 lb ground turkey breast
  • 1/4 cup chopped cilantro leaves
  • 1 bunch lacinato kale, stems removed and leaves coarsely chopped (optional)
  • 3 1/2 cups chicken stock
  • 1 cup beer (Pabst Blue Ribbon, or for a lighter flavor, and so you can still have beer left to drink after measuring the cup for the chili, Sapporo)
  • 2 tablespoons chili powder
  • 1 tablespoon kosher salt (less if you’re sensitive)
  • 1 teaspoon ground cumin
  • 1 small can diced green chilis
  • 1 14 1/2 oz can diced rotel tomatoes
  • 1 6 oz can tomato paste
  • 1 can refried black beans

Technique:

In a large dutch oven, heat the olive oil over medium high.  Add the onion and sauté until it’s transparent and softened.  Add the chopped garlic and continue cooking until the garlic is fragrant, about 1 minute.  Add the bell pepper and cook 2-3 minutes more.  Then add the turkey breast, and cook, breaking the meat apart with a wooden spoon, until it’s no longer pink.  Then you add everything else!  I love this part, dumping in a bunch of cans and seasonings and stirring until it’s all smooth.  Bring the chili to a boil, then reduce the heat and simmer over medium-low heat, stirring occasionally, for about 45 minutes to an hour, until the liquid reduces and it’s the perfect thickness.   I add the optional chopped kale to sneak in some veggies, and top with a little daiya cheese and Veggie Pirate’s Booty for my kids, and for me, a dollop of sour cream and some blistered shishitos for extra heat.

Cheryl’s Tips:

To prevent crying while chopping onions, put on a pair of sunglasses. Not only does it prevent your eyes from stinging/burning, it makes you look amazing in that ironic, “Too Cool for Others” way.  If you’re a child of the 80’s, you’re extra awesome, and you can sing this little diddy to the tune of Corey Hart’s “Sunglasses at Night”:  “I wear my sunglasses inside, so I can so I ca-an chop onions without tears in my eyes…”

Here’s to Sanity and Fall,

Cheryl

5_MG_0872

Oven Roasted Beets :: Friday Foodie

August 29, 2014 By: babyproofedparentscomment

oven roasted beets

Beets:  Nature’s Cupcakes.  I’m just trying to help them out – brussels sprouts have such a following and are so very sexy, while substantial, stable beets get overlooked.  My mom had a huge garden, and one summer it seemed we were eating beets every night.  I was afraid to try them, and she suggested that I close my eyes, take a bite and think about corn on the cob (which I loved).  It worked.  They have such a rich, earthy flavor, and the butter and salt makes it pop.  You can also sauté the beet greens over medium high heat in a teaspoon of coconut oil for about 4 minutes (much longer and they get slimy), add a little salt, and fully enjoy this 2-in-1 delicious veggie.

Ingredients:

  • 1 bunch fresh purple or gold beets
  • 1 tablespoon olive oil
  • 1 tablespoon unsalted butter, cut into small pieces
  • 1 tablespoon chopped flat-leaf parsley
  • 1 teaspoon kosher salt

Technique:

Beets are usually very dirty, so be sure to clean them well to avoid the nightmare of crunchy dirt on your plate.  Cut the greens off the beets, and if you want to cook them later, wash the greens and store them in a sealed container until you’re ready for them.  Thoroughly scrub the beets, cut off the roots, and then slice the beets into 1/4 inch thick half moons.  I cut the whole beet in half across the width, then lay the cut side down on my cutting board, slice it in half across the length, and then cut my half moon slices across both halves.  In a large mixing bowl, toss the sliced beets with the olive oil and butter, then spread them out on a foil-lined baking sheet.  Roast them for 25 minutes in a 450 degree oven.  Place them in a clean mixing bowl, add the parsley and kosher salt and mix well.  Mmmm.  That’s some cupcake.

Cheryl’s Tips:

To he or she who does the eating, but not the cooking:  lavishing compliments + doing the dishes = foreplay.

Here’s To Sanity and Stability,

Cheryl

5_MG_0872

Gluten-Free Cinnamon-Sugar Muffins :: Friday Foodie

August 15, 2014 By: babyproofedparentscomment

GF Cinnamon Sugar MuffinThese fluffy muffins are vaguely reminiscent of the frozen cinnamon sugar donuts my mom occasionally baked and served up for breakfast.  The same company made “honey buns,” and when those hit the table, it was ON.  They probably contained glue, but hey, who’s keeping track?  When these gf delights are on the menu, we have a “one muffin at a time” rule, because like most humans, my littles like to eat the sweet caramelized tops, leaving the sad bottoms to crumble into oblivion.

Ingredients:

For the Muffins:
1 1/4 cups Pamela’s Pancake and Baking Mix
1/4 cup plain yogurt or kefir
1/4 cup milk or milk alternative
1 egg
1/3 cup honey
1 teaspoon pure vanilla extract
1/4 teaspoon ground nutmeg
1/2 teaspoon ground cinnamon
1/4 cup finely grated zucchini (optional)

For the Topping:
1/4 cup sugar
1 teaspoon ground cinnamon
2 tablespoons butter, melted

Technique:
Lightly grease a 6 cup muffin pan, and preheat your oven to 350 degrees.  In a medium mixing bowl, gently stir all of the muffin ingredients together just until blended (see our GF Orange Glazed Muffin recipe for the emotional ramifications of over-mixing).  Scoop the batter into the muffin pan, dividing it evenly between the six cups.  Bake the muffins for 18-20 minutes, until they’re lightly golden.  Remove them to a rack to cool slightly.  Meanwhile, mix the cinnamon and sugar in a small bowl until well blended.  Gently remove the still very warm muffins from the pan, and roll the muffin tops first in the melted butter, and then in the cinnamon sugar mixture.  I said “muffin tops”.

Cheryl’s Tips:

No tips on this recipe – it’s a cinch, and if they’re old enough, you can even enlist your kids’ help in rolling the warm muffins in the butter/cinnamon-sugar mixture.

You’re smart and pretty.  And don’t you forget it.

Here’s to Sanity and Muffin Tops,

Cheryl

5_MG_0872

Italian Spaghetti Squash :: Friday Foodie

July 31, 2014 By: babyproofedparents2 Comments

Italian Spaghetti Squash

Spaghetti squash is a magical vegetable.  The name says it all – when you roast and cut into it, the flesh divides into uniformly sized, al dente spaghetti “noodles”.  If you eat a paleo or gluten-free diet, finding layering base foods for sauces and proteins can be a challenge.  It’s easy to get bored with grilled chicken or steak with veggies, and spaghetti squash is your ticket to a new culinary ride.  I could be imagining this, but it seems the smaller the squash, the smaller the noodles.  I recently roasted a little guy (again with the veggie/male personification…what is that about?) that produced the squash equivalent of angel hair pasta.  This makes me want to squeeze Nature and exclaim, “You’re so CUTE when you’re not chaotically cataclysmic!”

Ingredients:

  • 2 lbs spaghetti squash (1 medium/large squash or 2 small)
  • 2 teaspoons chopped flat leaf parsley or basil
  • 1 tablespoon olive oil
  • 1 tablespoon kosher salt
  • 4 cups Fast Times Marinara or your favorite jarred pasta sauce (c’mon, make your own…you can do it!)
  • 2 cups shredded mozzarella or vegan cheese (see tip below for more on this)

Technique:
Start this recipe early in the day, baking the squash and making the sauce while you’re doing other stuff around the house.  This will allow cool down time, enabling you to work with it and add the other ingredients just before mealtime.  Preheat your oven to 350 degrees, wash the spaghetti squash, and pierce the skin all over (about 10 pokes) with the tip of a small knife to keep it from exploding while it roasts.  Place it on a foil-lined baking sheet, pop it in the oven, and roast for 45 minutes.  When it’s cooled down enough for you to handle, slice it in half length wise, and scoop out and discard the seeds and slimy strands from the middle.  Using a fork, dig into the squash, shred it into noodles and scoop it out into a large mixing bowl.  This is deeply satisfying.  Add the parsley or basil, olive oil and salt (use less if you’re sensitive.  I find that the squash has a slightly sweet flavor, and use extra salt to quell it, increasing savory compatibility) and use two spoons to toss it together.  (You can stop right here.  This makes a treat of a veggie side to go with any meal.)

Spread the seasoned squash in a lightly greased rectangular casserole dish, or if you’re feeling fancy, small individual serving casserole dishes.  Top it with the marinara, the cheese, and the protein of your choice (see ideas below).  Pop the casserole back into the oven and bake until the cheese melts and the whole deal is hot and bubbly, about 20-30 minutes.  The squash produces a lot of liquid, so use a slotted spatula to drain a little off as you serve it.  And then eat it.  And then smile.

Cheryl’s Tips:
Daiya vegan cheese is delicious.  It melts perfectly, and has a lovely cheesy flavor with no weirdo ingredients.  We try to avoid dairy, and this product has enabled us to make enchiladas, quesadillas, pizza, etc. without missing real cheese at all.  I buy 5 bags of our favorite (the mozzarella shreds) at a time, keeping one bag in the fridge and the rest in the freezer until I’m ready for them.

I photographed the squash alongside a link of chicken Italian sausage, casing removed, sliced lengthwise and cooked over medium heat until golden and cooked through (about 5 minutes per side).  Other protein adds: you can throw a handful of walnuts or some browned bison on top of the cheese before the final baking step.  I often add a fried egg to the baked squash with swoon-worthy results.  Also in the photo – I grilled Brussels sprouts and gathered up all the little leaves that fell off as I skewered them.  I sautéed the leaves in a skillet over medium-high heat in a teaspoon of olive oil until they were soft and browned, then sprinkled them with a little kosher salt.  Delightful.

If you listen to “Blow (Cirkut Remix)” by Ke$ha and take dance breaks with your kids while you’re cooking, your food will be infused with awesomeness.

Here’s to Sanity and Chaos,

Cheryl

5_MG_0872

Paleo Crepes with Berries :: Friday Foodie

July 4, 2014 By: babyproofedparentscomment

Paleo Crepes with berries

I wish I was a crepe flipper.  Someday, I will conquer my Flip Fear and master this dramatic and sexy cooking technique.  But first, I have to break through my emotional barriers, which are two-fold.  One barrier is triggered by the sensitivity of crepes.  Notice the repeated use of words like “gently” and “carefully” in this recipe.  Crepes tear easily, which can unfairly place them in a “victim” role, and me in an overly-protective “savior” role, thus keeping them from their golden, air-born potential.  The second barrier is triggered by the part of me fundamentally opposed to wasting food.  I hold the pan, ready to go for it, and then think, “What if I flip and miss?  Crepe on the floor, or scorched by the range…lost.  What if I start crying and can’t stop?”  I’ll stick with the spatula.

Ingredients:

  • 6 bananas
  • 4 tablespoons protein powder (I use vanilla whey)
  • 4 eggs
  • 4 tablespoons butter
  • 1 tablespoon toasted coconut
  • 1 tablespoon toasted chopped pecans
  • 1/2 cup fresh blueberries
  • 1 recipe stewed cherries

Technique:
Check out our GF Orange Glazed Muffins with Stewed Cherries recipe for a quick and easy cherry sauce.  It will take you about 10 minutes to throw together before you proceed with the crepes.  See you back here in a few?

In a medium mixing bowl, mash 4 of the bananas.  Add the eggs and the protein powder, and whisk until well blended.  In a non-stick skillet (see suggestions in my tips below) over medium heat, melt 1/2 tablespoon of the butter.  Spoon in enough crepe batter to make a thin, circular layer about 8 inches in diameter.  Sprinkle about 1/2 teaspoon each of the coconut and pecans over the cooking crepe.  After about 2 minutes, you should see a little browning around the edges.  Gently slide a spatula under the center of the crepe, and very carefully flip it over.  Or, if you’re feeling emotionally stable, try air flipping!  Let the crepe cook for another minute, then slide it onto a serving plate.  Repeat this process until you’ve used all the batter, yielding about 8 crepes.  Thinly slice the remaining 2 bananas, and fill the center of each crepe with about 6 slices.  Fold the edges of the crepes over the bananas, and top with 1/4 cup of stewed cherries and a few blueberries.  That is pretty.  Eat it.

Cheryl’s Tips:
Blog recommendation:  these crepes were inspired by Paleo Goddess Juli Bauer’s lovely Protein Pancake recipe.  Juli’s site is packed with deliciousness – an excellent go-to resource for all things Paleo.

I like Tim Ferriss like Tim Ferriss likes Angelina Jolie.  His awesome book The 4 Hour Chef is full of recipes and techniques based on his extensive research with accomplished chefs, and his own experimentation.  His “Top Gear” section lists tested kitchen gadgets to greatly enhance your cooking life.  I have two sizes of the Bialetti Aeternum non-stick skillet he recommends – I love how well they work, and that they are infinitely easier on the environment than most non-stick ware.

Try these crepes for a fancy dessert – filled with vanilla coconut milk ice-cream and topped with either the cherry sauce or melted chocolate.  Yum.

Here’s To Sanity and Flipping,

Cheryl

5_MG_0872

Banana Nut Smoothie :: Friday Foodie

June 20, 2014 By: babyproofedparentscomment

smoothie2

Have you been saving overripe bananas in your freezer as instructed in our Paleo Banana Bread recipe post?  Good job.  In my recipe-writer fantasy, you’ve been waiting on the edge of your seat, gazing at least once a day at your growing frozen banana stash, scratching your head, gesturing with theatrical inquisition toward the ceiling and asking out loud, “WHEN is she going to give us that amazing smoothie recipe?!”  Beautiful, dedicated reader, your patience is about to be rewarded.  This smoothie cures what ails.  It makes a complete meal, is especially lovely for breakfast, and kiddos dig it.  Add the optional spinach leaves and protein powder to take the nutritional value over the top.  Sip, and levitate.

Ingredients:

  • 3 bananas, cut into chunks and frozen (freezing them makes all the difference)
  • 3 heaping tablespoons nut butter (my favorite is a combo of roasted almond butter and sunflower butter)
  • 1/2 cup plain yogurt or kefir
  • 1/2 cup milk or milk alternative (vanilla almond milk.  mmmm.)
  • 1 tablespoon whey protein (optional)
  • 1 cup loosely packed baby spinach leaves (optional)

Technique:
Put all that goodness into your blender and blend it well, baby.  My measurements result in about 4 small, very thick smoothies, the consistency of slightly melty soft serve.  If you like your smoothies more drinkable, simply add more milk.

Cheryl’s Tips:
Being raised by post-depression era farm folks conditioned me to feel physical pain when good food is thrown away.  I will trashcan dive if anyone tosses eggshells, apple peels, or anything that could be composted, and I love finding uses for dregs.  When you use fresh nut butter, you often have to stir and stir to combine the oil and nut solids.  At the bottom of the jar, there’s usually a thick, nutty layer that’s hard to spread without destroying your bread.  I scrape this out and toss it into the blender.  And on the rare occasion that there’s a leftover heel from a loaf of b-bread, it blends beautifully into the smoothie and gives it a tiny hint of chocolate.  Nothing wasted.  Your mouth will love the taste, your body will love the nourishment, and the part of your conscience that is in constant turmoil about the state of our environment will take a deeply satisfying breath.

Here’s To Sanity and Levitation,

Cheryl

5_MG_0872

Paleo Chocolate Chip Banana Bread :: Friday Foodie

April 25, 2014 By: babyproofedparentscomment

bananabread

This decadent, healthy bread hails from George Bryant, dynamic author of the website, Civilized Caveman Cooking.  Even if you’re not into eating a paleo diet, you’ve got to check out his site, where you’ll enjoy gorgeous photos and delicious, easy to execute recipes.  Plus, “Civilized Caveman.”  I need a minute.  Okaaaayyyy on with the recipe.  I’ve barely modified it by adding zucchini and chocolate chips, for the extra nutrients and yumminess.  Another delightful version omits the chocolate chips and adds chopped pecans, chopped pineapple and toasted coconut.  I love that a thick slice of this bread not only tastes amazing, but has everything you need for a complete meal:  veggie-based carbs, fat and protein.  It also freezes well, should you ever find yourself in an alternative universe with leftovers.

Ingredients:

  • 4 very ripe bananas, mashed
  • 1/2 cup finely grated zucchini
  • 1/2 cup almond butter
  • 4 tablespoons coconut oil, melted
  • 4 eggs
  • 1 teaspoon pure vanilla extract
  • 1/2 cup coconut flour
  • 1/4 teaspoon kosher salt
  • 1 teaspoon baking powder
  • 1 teaspoon baking soda
  • 1/2 cup Goodlife chocolate chunks or mini-chips (heavenly chocolate, without a bunch of crappy things you can’t pronounce)
  • Butter for greasing your loaf pan and spreading on the warm bread… mmmmm


Technique:

Preheat your oven to 350 degrees.  Using about 2 teaspoons of unsalted butter, grease a glass loaf pan (yes, glass, because metal pans get a little extra hot, making the crust too dark and the middle too doughy) very, very well, otherwise the bread will stick like glue, and you don’t want to miss a single bite.  (Mandy and her girls refer to pan stickage as “shrapnel.”  See my tips below to avoid this terribly unfortunate loss.)

In a medium bowl, use a hand mixer to blend the bananas, zucchini, almond butter, coconut oil, eggs and vanilla until smooth and creamy.  Add all of the remaining ingredients and mix until smooth and creamy again.  You needn’t worry about mixing speed or time once the batter is blended, as this is one of those rare baking adventures that doesn’t require precision; the bread won’t collapse on you or wind up full of holes. Scrape the batter into your loaf pan, and bake for 50 minutes.

Place a strip of foil loosely over the top of the loaf to avoid excessive browning, and bake 10-15 minutes more, until the bread looks evenly browned and doesn’t quiver when you tap the pan.  Allow it to cool in the pan on a rack for about 45 minutes before serving with more butter.  Dang!

Cheryl’s Tips:

I’ve tried a version with not-so-ripe bananas, which according to George makes little difference.  Perhaps I have a high-maintenance pallet, but it didn’t taste as sweet as the version with super ripe.  I’ve started buying way more bananas than we need, and when we get to the final four, tossing them in the fridge, where they’ll last at least a week.  They turn very brown, but when you peel them, they’re perfect and have a higher sugar content. (Preview:  start saving cut up extra-ripe bananas in your freezer for smoothies, a recipe that will blow your baby-lovin’ mind is coming soon.)

I am easily pleased by the obscure.  Examples:  the first squeeze (from the very middle) of a new tube of toothpaste, perfectly peeling a label off a new purchase without the tiniest spec of sticky left behind, and dislodging a loaf of bread leaving a crumb-free pan.  Somehow, these minor victories slightly balance chaos.  After the bread cools, run a knife carefully around the edges of the loaf several times.  Invert the pan onto a bread board and tap the bottom, allowing the loaf to slowly and elegantly fall out.  Enjoy this moment of perfection.

Here’s To Sanity and Cavemen,

Cheryl

5_MG_0872


Gluten-Free Lemon Pancakes w/ Honey Butter :: Friday Foodie

April 10, 2014 By: babyproofedparentscomment

lemonjacks

Show me a therapist with a happy, idyllic childhood, and I’ll show you a unicorn.  Growing up had some pretty rough spots for me, but a bright one was the annual Kiwanis Pancake Supper (isn’t the word “supper” awesome?).  All you could eat stacks of round perfection, with slabs of fried ham on the side.  Balanced nutrition, and a big room full of, at least momentarily, jolly people. So it is with fondness that I present the first of many pancake recipes to come.  Now that I think about it… my 40th birthday is approaching. There will be many, many events commemorating this milestone, and you are witness to the birth of my first solid plan:  Cheryl’s 40th Birthday Pancake Supper.  It is ON.  Okay I’m back.  These light, fluffy, lemony pancakes will delight you.  Go get some lemons and make them right now.

Ingredients

For the Honey Butter:

  • 2 tablespoons softened sweet cream butter
  • 1/4 cup honey

For the Pancakes:

  • 2 cups Pamela’s Baking & Pancake Mix
  • 4 tablespoons coconut oil, melted (more for cooking the pancakes)
  • 2 eggs
  • 2 teaspoons vanilla extract
  • 1/2 cup kefir or plain yogurt
  • 1 1/2 cups milk or milk alternative (my favorite is almond milk)
  • zest and juice of two lemons

Technique

For the Honey Butter:
Using a fork or small whisk, mix the honey and butter together until you reach a thick, spreadable consistency.  It will be lumpy at first, but keep working with it until the butter melts into the honey evenly.  If needed, pop the mixture into the fridge for a few minutes to thicken it further before serving it on the pancakes.

For the Pancakes:
Whisk all ingredients together (quickly after putting them in your mixing bowl, as the coconut oil can solidify and make the batter lumpy).  Heat a griddle or skillet over medium heat.  Add a tablespoon of coconut oil, and when it melts and is shimmering, dispense about 1/4 cup of batter per pancake (less for small kid-sized pancakes).  Allow the first side to cook until there are bubbles coming up in the center of the pancakes, and it’s easy to slide a spatula under them without a bunch of batter running off the middle (about 2 minutes).  Flip the pancakes, and allow the second side to cook for about 2 minutes.  When both sides are golden, serve them up with fresh berries and a dollop of honey butter.  This recipe feeds two adults (4 pancakes each) and 2 kids (6 silver dollar sized pancakes each).

Cheryl’s Tips

If you’ve made the Lemon Ginger Scones, I hope you treated yourself to a citrus zester.  Pull that bad boy out for these pancakes.
I also love my batter dispenser.  It makes perfectly round pancakes, and really cuts down on mess.  We eat pancakes at least once a week, so this seemingly frivolous tool has been very useful.  If you don’t use all the batter, you can cover the dispenser with foil, and use it again in the next few days.  Just add a splash of milk, whisk the batter a little and throw down another batch.
Pamela’s Baking & Pancake Mix is a staple in my pantry.  It’s expensive, but if you if eat gluten-free, it’s worth it.  This magical product keeps our table stocked with waffles, endless varieties of muffins, pizza, biscuits and cinnamon rolls, all without the bloat and constipation.  Now that’s yummy.

Here’s To Sanity and Supper,

Cheryl

5_MG_0872

Mandy’s Meatballs :: Friday Foodie

February 6, 2014 By: babyproofedparentscomment

mandy meatballs

These delicious meatballs are adapted from a recipe that came from one of the coolest mamas we know (you’ll be hearing more from her down the road).  My favorite thing about this dish is that every savory bite is a perfectly nutritionally balanced… and as you’re gathering, we’re all about the balance.  Also, they freeze really well, so double up and save half for a night when you’d rather play than mess up the kitchen.

Ingredients:

  • 1 pound ground grass-fed beef or bison
  • 1/2 pound pork, chicken or turkey Italian sausage (spicy or sweet)
  • 1 cup steamed white or brown rice
  • 1/2 c finely chopped onion
  • 1/2 c finely grated zucchini
  • 1 teaspoon salt
  • 1/2 teaspoon black pepper
  • 1 teaspoon Spike Seasoning (optional)
  • 1 16 ounce can tomato sauce

Instructions:

Preheat oven to 350 degrees.  Mix all ingredients except for the tomato sauce.  Form into 1 inch balls, and place in a lightly greased casserole dish.  Drizzle the tomato sauce over the meatballs, and bake uncovered for 1 hour.  Stand in your kitchen, and breathe deep – they smell amazing and taste even bettah.

Cheryl’s Tips:

What’s Spike Seasoning?  The bomb.  A yummy, natural seasoning alternative to typical blends that use msg and other junk that’s hard to pronounce.  Look for it at your local health food store, or at http://spike-it-up.com/

Another kitchen tip:  Keep a box of surgical gloves handy (tee hee) for forming meatballs, deboning chicken, etc.  Keeps gunk out from under your gorgeous fingernails and makes clean-up easy.

Here’s to strength, sanity and really yummy meals.

Cheryl

5_MG_0872

Connect with BPP

Search The BPP Blog

Online resource for new and expectant parents

Welcome to BPP, an online resource for maintaining your sanity – before, during and after your baby's arrival. I'm Kirsten Brunner and I'm here to support YOU. Read more...

Parenting tips and advice
I'm Published by Mamalode!
TODAY.com Parenting Team Parenting Contributor

Tags

anger anxiety baby birth partner breakfast childbirth co-parenting communication conflict coparenting couple's communication crying dad depression dinner divorce doula easy recipe foodie friends gluten-free healthy hospital kid-friendly labor & delivery laughter love marital marriage newborn parenting postpartum pregnancy prenatal relationship sanity self care sides single parent strength stress stress mgt tantrums tip veggies

Learn About Our Professional Counseling Services

Learn About Our Professional Counseling Services

Pre-Order My Book

Pre-Order My Book

Our Partners

Our Partners

Recognition

Recognition
The Land of Nod, design for kids and people that used to be kids
Tiny Prints - Holiday Offer

For Parents of Multiples

How Do You Do It?

Monthly Archive

The Land of Nod, design for kids and people that used to be kids

Copyright © 2025 · Modern Blogger Pro Theme By, Pretty Darn Cute Design